How to Send SMS Messages Using Journey Builder in Salesforce Marketing Cloud
Introduction:
In digital marketing, text messaging (SMS) is a highly effective channel for reaching your audience directly and personally. Salesforce Marketing Cloud’s Journey Builder empowers marketers to automate and customize SMS campaigns seamlessly. In this comprehensive guide, we’ll walk you through the steps of sending SMS messages using Journey Builder in Salesforce Marketing Cloud, enabling you to engage your audience in a meaningful way.
Step 1: Log In to Salesforce Marketing Cloud
Begin by logging in to your Salesforce Marketing Cloud account. Ensure you have the necessary permissions to create and manage journeys.
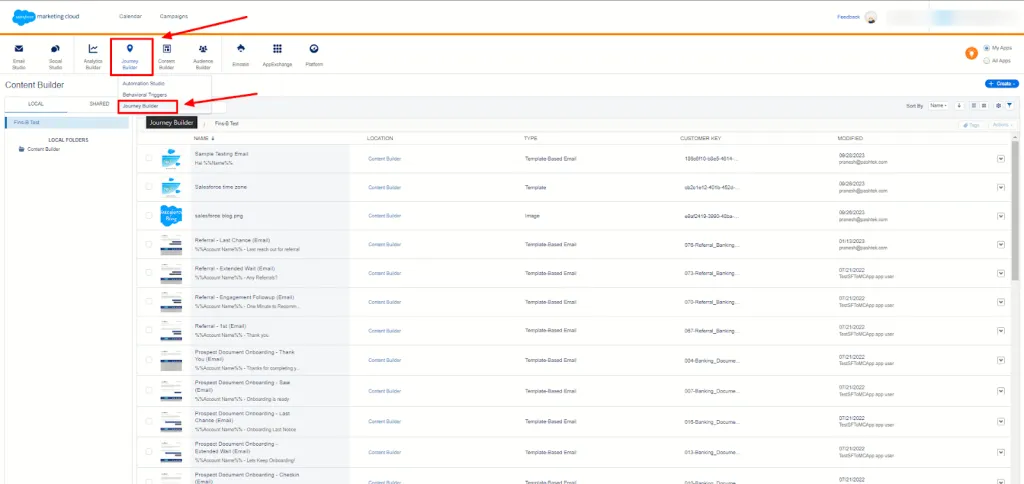
Step 2: Access Journey Builder
Navigate to Journey Builder by clicking on it in the left navigation menu. This is where you’ll design and execute your SMS campaigns.
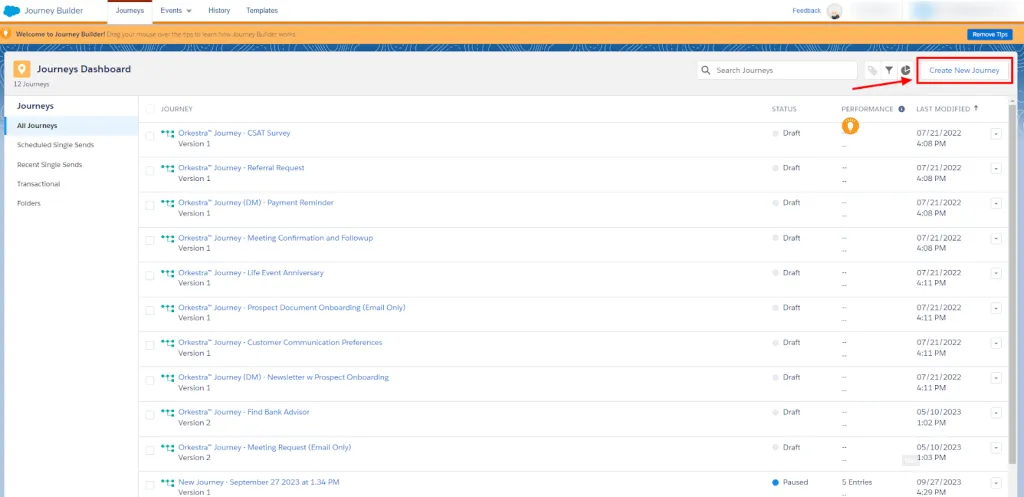
Step 3: Create a New Journey
- In the Journey Builder dashboard, click the “Create New Journey” button.
Choose the type of journey you want to create. For SMS campaigns, select “Mobile.”
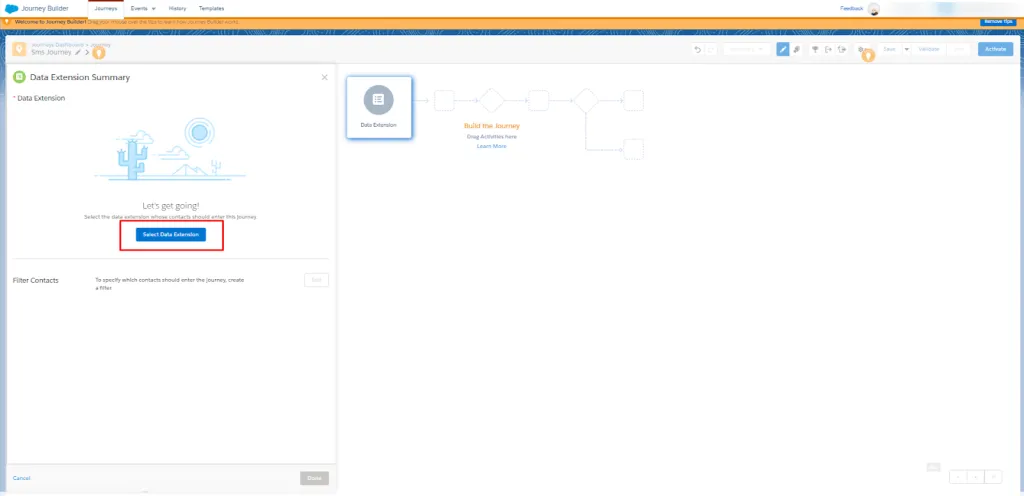
Step 4: Configure Journey Settings
- Give your journey a descriptive name.
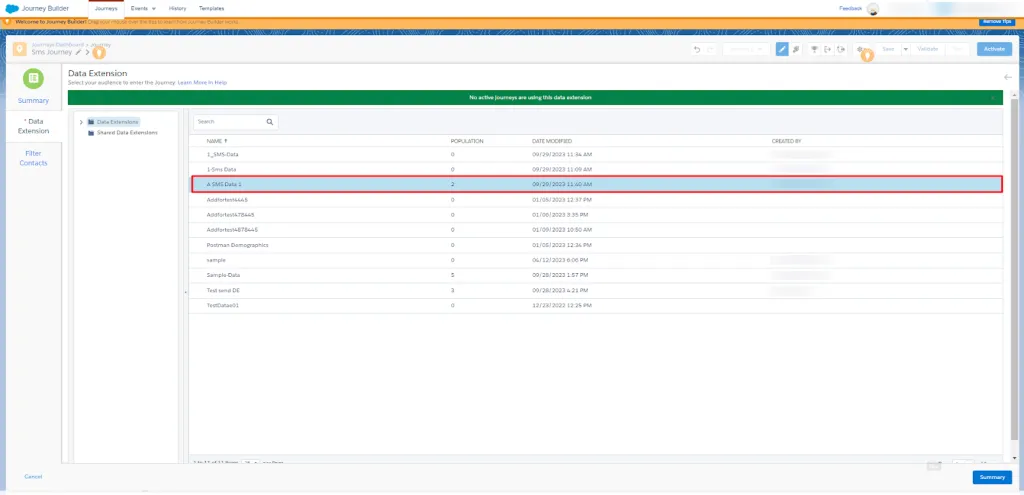
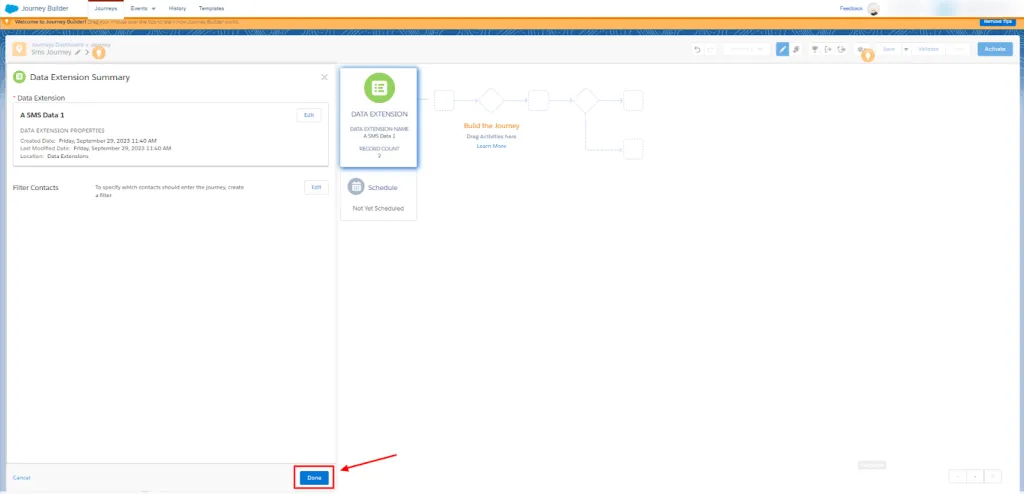
- Select your entry sources, such as lists, data extensions, or API events. This determines how contacts enter the journey.

Define entry criteria based on specific data fields or behaviors. This ensures that the right audience is targeted.
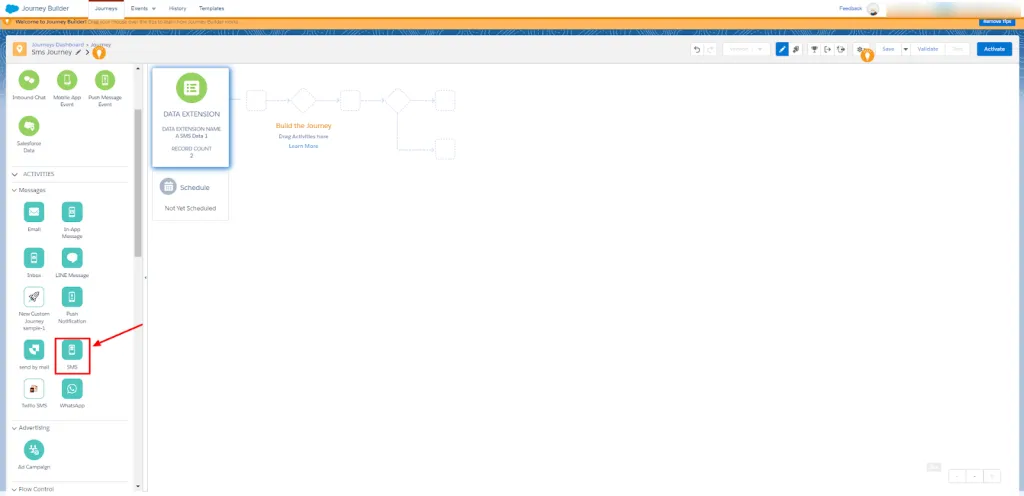
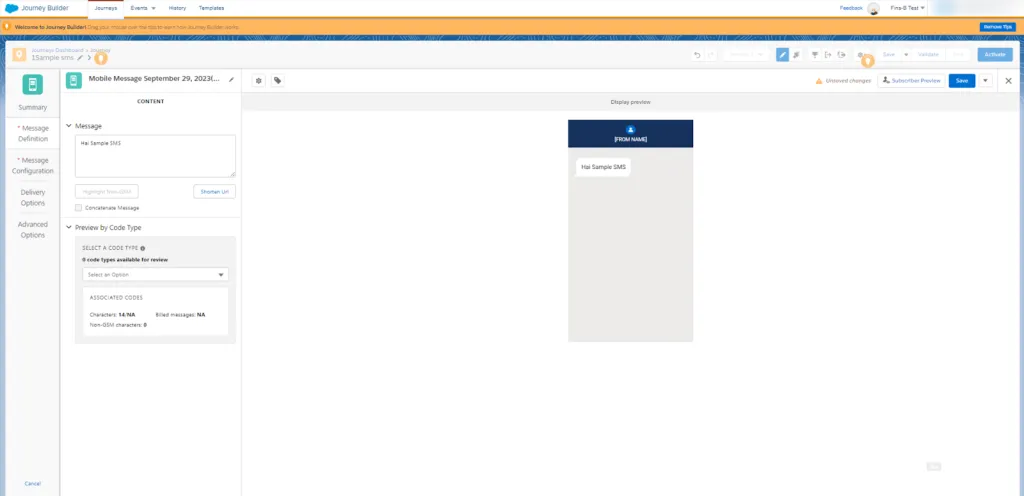
Step 5: Define Journey Steps
- Drag and drop an “SMS Activity” onto the canvas.
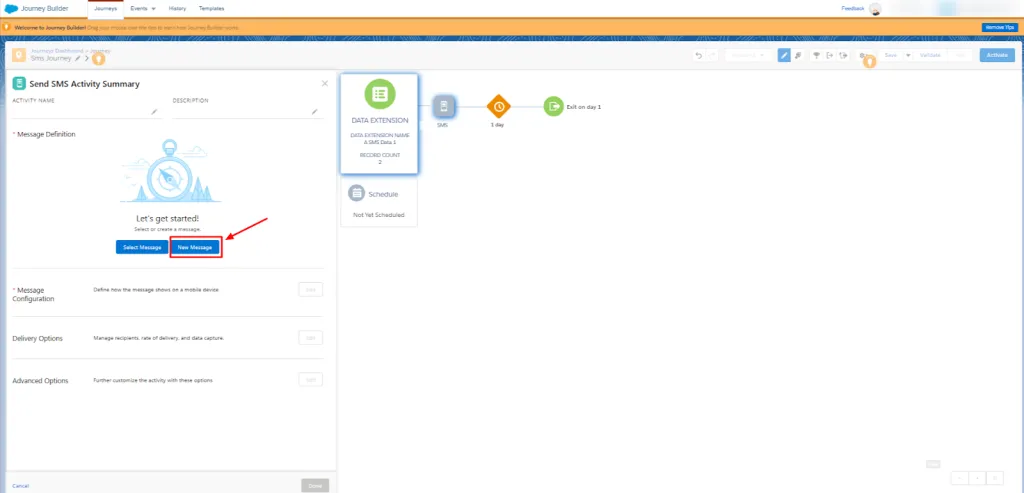
- Configure the SMS activity by selecting the message you want to send. You can choose from existing templates or create a new SMS message.
Specify the sending behavior, such as sending immediately upon entry, at a specific date and time, or based on contact behavior.
Step 6: Personalize Your SMS (Optional)
For a more tailored experience, you can personalize your SMS messages. Use personalization strings to insert contact-specific information like names or previous purchase details.
Step 7: Implement Decision Splits (Optional)
To create different paths within the journey based on specific conditions or contact attributes, add decision splits. These allow for more customized and responsive SMS campaigns.
Step 8: Test Your Journey
Before launching your SMS campaign, thoroughly test it. Use the “Test” feature within Journey Builder to send test SMS messages and ensure that your journey is functioning as intended.
Step 9: Activate Your Journey
Once you’re confident in your journey setup, click the “Activate” button to make it live. Contacts who meet the entry criteria will start progressing through the journey, receiving SMS messages as specified.
Step 10: Monitor and Analyze
After activation, closely monitor the performance of your SMS campaign. Salesforce Marketing Cloud provides reporting and analytics tools to track key metrics such as delivery rates, response rates, and conversions.