How To Use Regular Email HubSpot
Introduction:
Email communication remains a cornerstone of business interactions, allowing brands to connect with their audience, nurture leads, and build lasting relationships. HubSpot Regular Email offers a powerful and intuitive email marketing tool that enables businesses to create and send personalized, engaging emails seamlessly. Welcome to the world of HubSpot Regular Email, where businesses can elevate their email marketing efforts and drive impactful results.
Step-by-Step Guide to Using HubSpot Regular Email:
Step 1: Log in to HubSpot:
Access your HubSpot account by visiting the HubSpot website and logging in with your credentials.
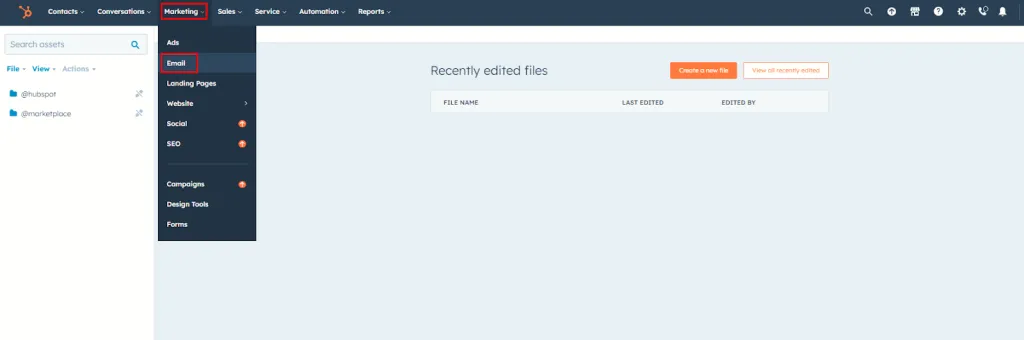
Step 2: Navigate to Email Dashboard:
In the HubSpot dashboard, click on “Marketing” in the top navigation bar, and then select “Email” from the drop-down menu. This will take you to the Email dashboard.
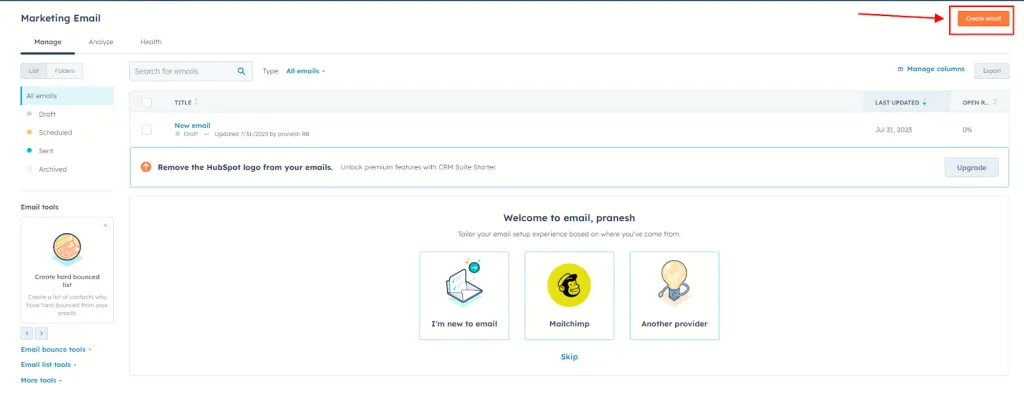
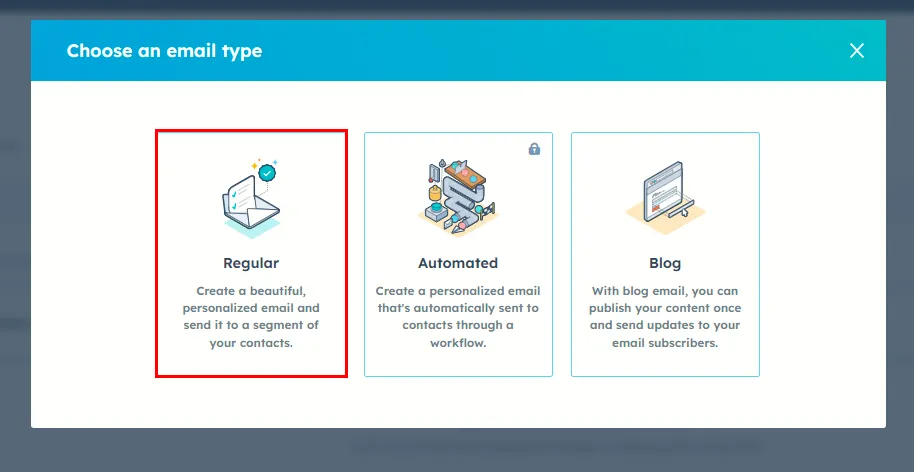
Step 3: Create a New Email:
Click on the “Create email” button to start building a new email. Choose “Regular email” as the email type.
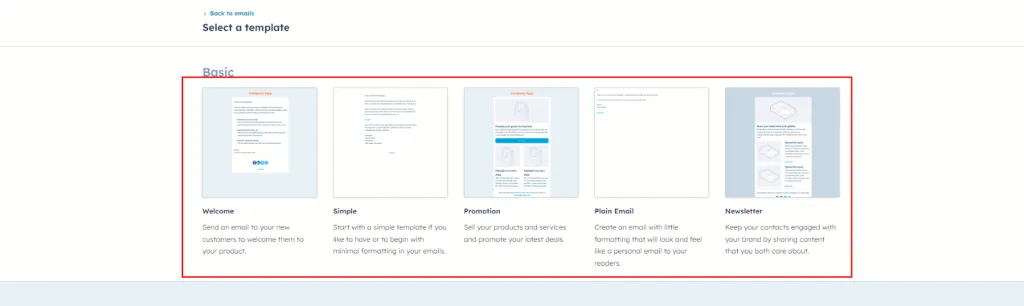
Step 4: Select a Template or Start from Scratch:
HubSpot offers a range of email templates to choose from. Select a pre-designed template that aligns with your brand or start from scratch to create a custom design.
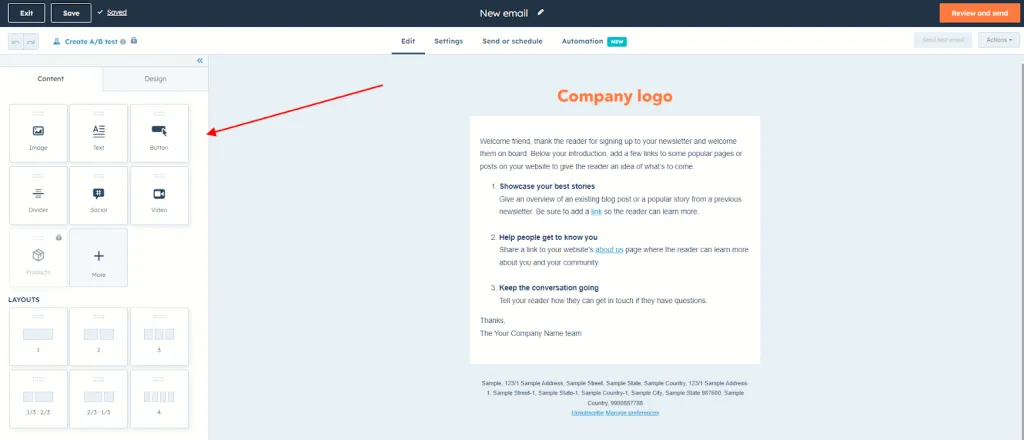
Step 5: Design Your Email:
Using the intuitive drag-and-drop editor, design your email content. Add text, images, buttons, and personalized elements to craft a visually appealing and engaging email.
Step 6: Personalization and Dynamic Content:
Leverage HubSpot’s personalization features to tailor your email content based on recipient data, such as name, company, or previous interactions. Use dynamic content to show different content blocks based on specific criteria.
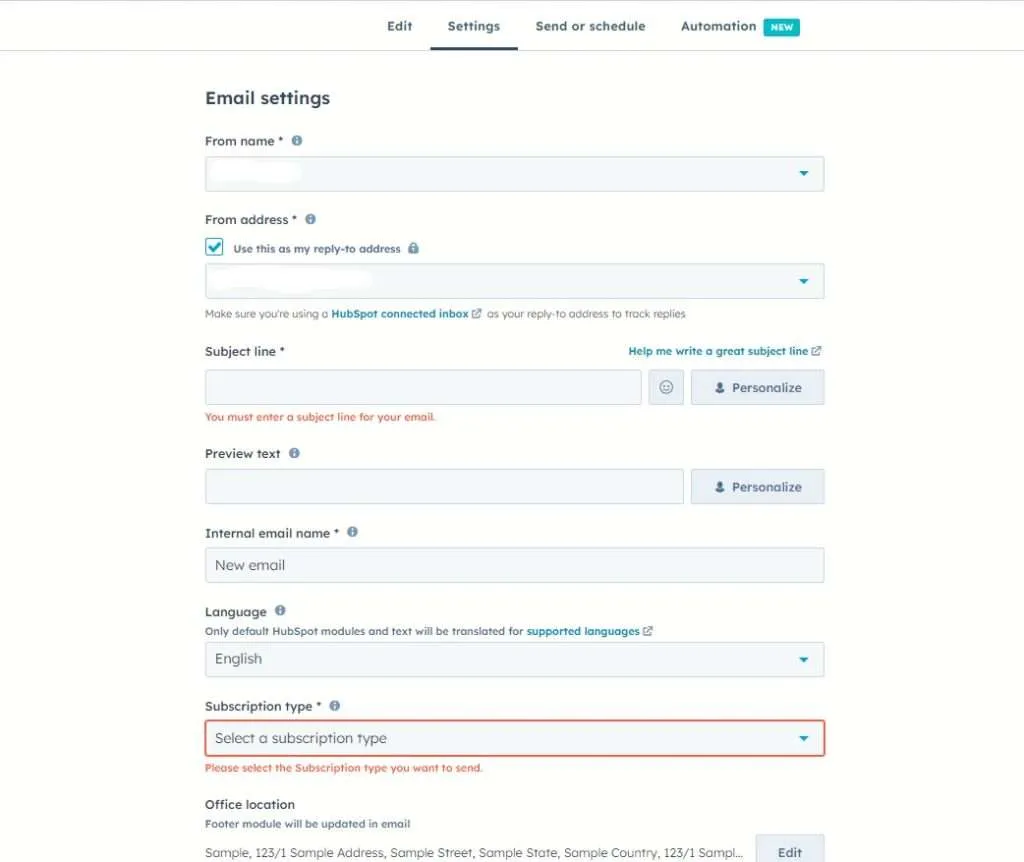
Step 7: Set Up Email Settings:
Configure email settings, including the email subject, sender name, and reply-to address. Ensure your email settings align with your brand’s identity.
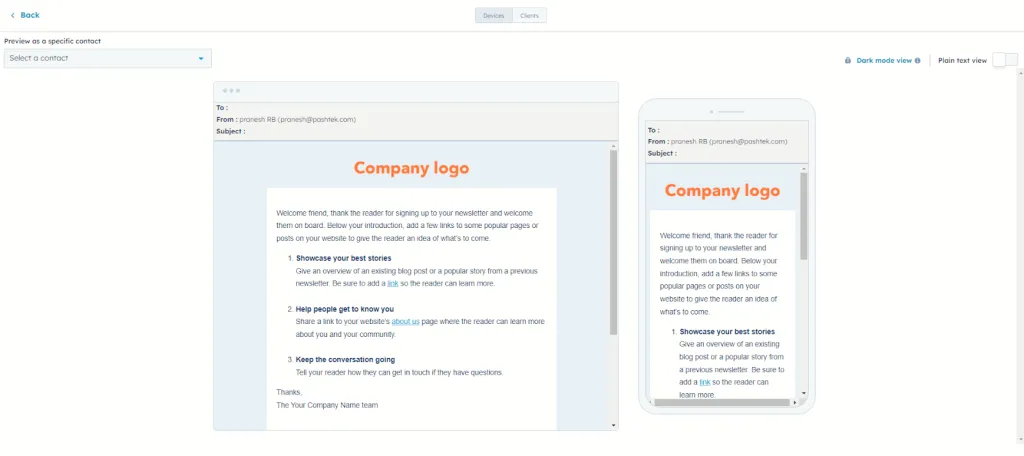
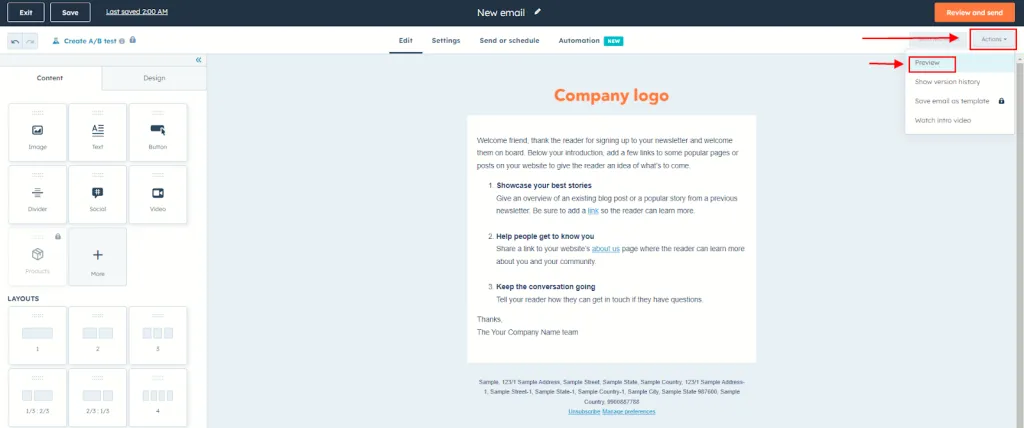
Step 8: Preview and Test:
Before sending your email, use the preview option to see how it will appear to recipients. Send test emails to yourself and colleagues to check for any formatting or content issues.
Step 9: Segment Your Audience:
Segment your contact list to ensure targeted and relevant email distribution. HubSpot allows you to create custom lists based on various criteria, such as lead status, behavior, or engagement level.
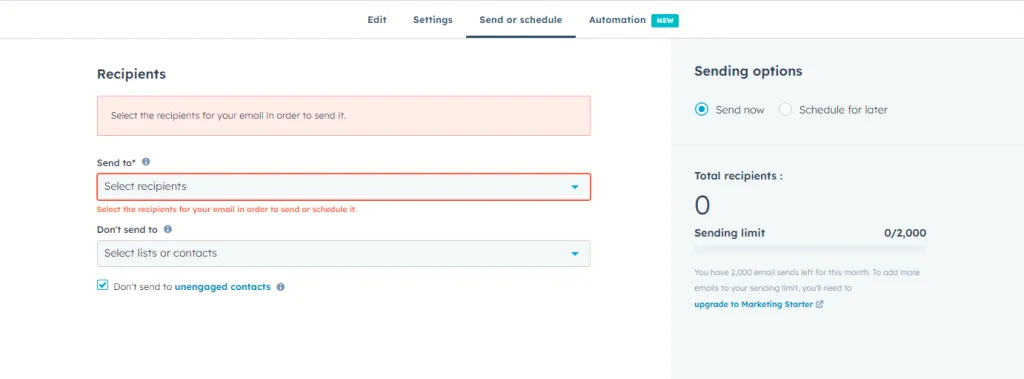
Step 10: Schedule or Send the Email:
Choose whether you want to send the email immediately or schedule it for a later date and time. Set up the email distribution preferences and click on “Send” to deliver your email to the selected audience.
Step 11: Monitor and Analyze:
After sending the email, monitor its performance through HubSpot’s analytics and reporting tools. Track metrics like open rates, click-through rates, and conversions to evaluate the success of your email campaign.