
React Router
React router is arguably one of the coolest feature there is in React. It is a famous library and familiarity in knowing how to use this library is expected for everyone who’s learning React. The reason is very simple. When using a website, it is essential for users to be able to view different pages seamlessly, or to navigate from one page to another. React Router is the library that makes this possible.
React creates a single-page application and react router plays an important role to display multiple views without having to reload the browser in a single page application.
It is worth noting that it is almost impossible to display multiple views in React single-page applications without React Router. Websites that use react router for rendering multiple views for their app include, but not limited to Facebook, Instagram, Twitter, to mention a few.
Step 1:
We need to install react-router-dom via npm to handle the routing on our terminal by running
npm install react-router-dom
Step 2:
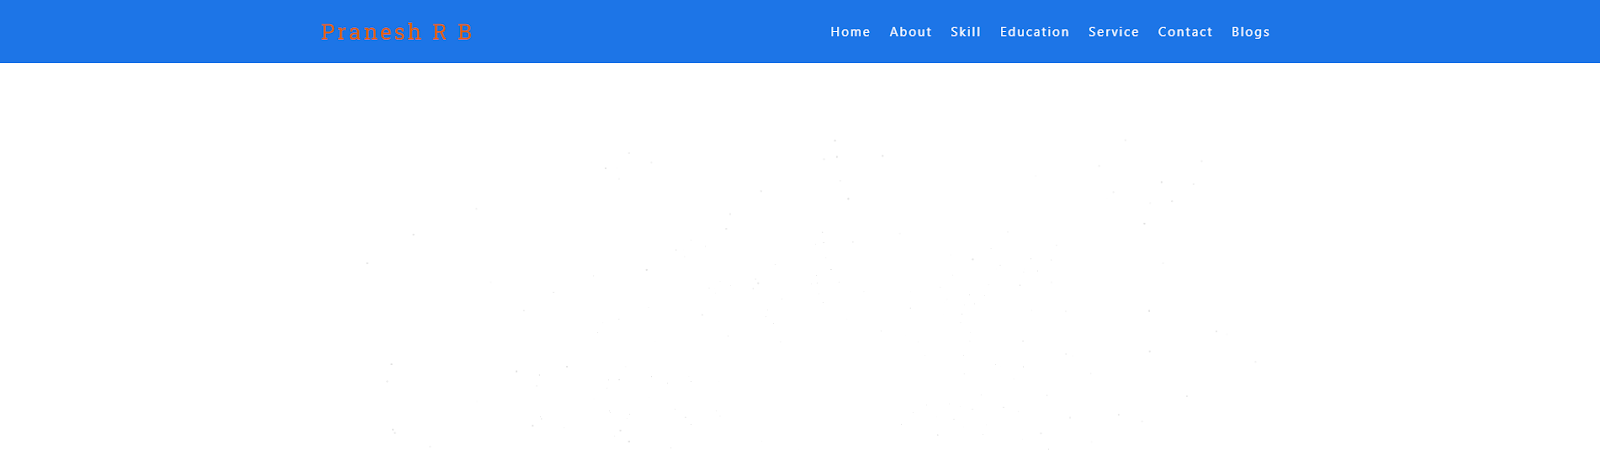
Lets extract some code from our Home.js file and create a new file: Header.js.
Cut the following code snippets from your Home component and paste it inside your Header.js file
import React from “react”;
function Header() {
  return (
    <React.StrictMode>
      <div className="menubar">
        <div className="menubar-content">
          <nav className="navbar navbar-default navbar-fixed-top">
            <div className="container">
              <div className="row">
                <div className="col-md-3 col-sm-3">
                  <div className="site-title">
                    <a href="/#home" style={{ textDecoration: "none" }}>
                      <h3>Pranesh R B</h3>
                    </a>
                  </div>
                </div>
                <div className="navbar-header">
                  <button
                    type="button"
                    className="navbar-toggle collapsed"
                    data-toggle="collapse"
                    data-target="#bs-example-navbar-collapse-1"
                    aria-expanded="false"
                  >
                    <span className="sr-only">Toggle navigation</span>
                    <span className="icon-bar"></span>
                    <span className="icon-bar"></span>
                    <span className="icon-bar"></span>
                  </button>
                </div>
                <div className="col-md-9 col-sm-9 navbar-style">
                  <div
                    className="collapse navbar-collapse"
                    id="bs-example-navbar-collapse-1"
                  >
                    <ul className="nav navbar-nav">
                      <li>
                        <a href="/#home" className="active">
                         Home
                        </a>
                      </li>
                      <li>
                        <a href="/#about">About</a>
                      </li>
                      <li>
                        <a href="/#skill">Skill</a>
                      </li>
                      <li>
                        <a href="/#resume">Education</a>
                      </li>
                      <li>
                        <a href="/#service">Service</a>
                      </li>
                      <li>
                        <a href="/#contact">Contact</a>
                      </li>
                      <li>
                        <a href="/Blog_home">Blogs</a>
                      </li>
                      {/* <li>
                        <a href="/Myworks">My Works</a>
                      </li> */}
                    </ul>
                  </div>
                </div>
              </div>
            </div>
          </nav>
        </div>
      </div>
    </React.StrictMode>
  );
}
export default Header;
Here, we are using HTML <a> href Attribute is used to specify the URL of the page that the link goes to. When the href attribute is not present in the <a> an element that it will not be a hyperlink.
Step 3:
Now it’s time to import all of our components into our App.js file and see how we can use the categories we learnt in the first part of this article to make our blog app fully dynamic like so:
import React from "react";
import "./App.css";

// import Router
import { BrowserRouter as Router, Route, Switch } from "react-router-dom";

// import Component
import Header from "./component/Header";
import Footer from "./component/Footer";
import ScrollToTop from "./component/ScrollToTop";

// import Pages
import Home from "./Pages/Home";
import ToggleColorMode from "./Pages/sample";
import Blog_home from "./Pages/Blog_home";
import ReactHooks from "./Pages/ReactHooks";
import UiUx from "./Pages/UiUx";
import FormExample from "./Pages/FormExample";
import ReactRedux from "./Pages/ReactRedux";
import Advance_react from "./Pages/Advance_react";
import Interview_questions from "./Pages/Interview_questions";
import Myworks from "./Pages/Myworks";
import Myjournal from "./Pages/Myjournal";
import Blog5 from "./Pages/Blog5";
function App() {
  return (
    <React.StrictMode>
      <Router>
        <Header />
        <ScrollToTop>
          <Switch>
            <Route exact path="/" component={Home} />
            <Route exact path="/react-hooks" component={ReactHooks} />
            <Route exact path="/ui-ux" component={UiUx} />
            <Route exact path="/ReactRedux" component={ReactRedux} />
            <Route exact path="/form-example" component={FormExample} />
            <Route exact path="/Advance_react" component={Advance_react} />
            <Route exact path="/Blog_home" component={Blog_home} />
            <Route exact path="/Interview_questions"component={Interview_questions} />
            <Route exact path="/Myworks" component={Myworks} />
            <Route exact path="/Myjournal" component={Myjournal} />
            <Route exact path="/Blog5" component={Blog5} />
          </Switch>
        </ScrollToTop>
        <Footer />
      </Router>
    </React.StrictMode>
  );
}
export default App;
This is how we incorporated react-router into our application. First, we import { BrowserRouter as Router, Route, Switch } from “react-router-dom”; Remember in the first part of this article we said <Router> has the ability to incorporate routing in react. That explains why we are wrapping all of our components that we want the routing to be in with it.
On line 31, just before the Switch component, we rendered the Navbar component <Header/>. This is because we want our navbar to be available to all our pages in our application.
We also used the Switch component to render the first route that matches the location rather than rendering all matching routes. If we exclude the Switch component from our code, all the routes will be rendered on a single page.
As we already know, the Route renders a component based on the URL. In the above code, we gave the Routes a different path depending on what we want it to render on our browser. We also specified the component by adding a prop, component and setting it to the component we want to render.
Still on the Route component, we used the exact keyword to specify the exact path for specificity. Otherwise, whenever the Switch component sees this / in our URL, it will only render the first route just beneath it even though we specify the path we want rendered.
To better understand this, try removing the exact keyword from the Route component. Just play around with the code to gain more clarity.
Output:
Live Output : https://profile-seven-orpin.vercel.app/