Redux Toolkit with React
Redux Toolkit:Redux assists you in handling a world state of your application. It effectively learns the app logic behavior in response to modifications created. The figure below depicts the redux method of your application.
Redux toolkit: The main takeaway
I. Actions
- Actions are unit plain JavaScript objects with the specified easy string property sort and might embody a custom property to update the state.
- Actions do not seem to be in command of any state modifications, they simply describe what happens with the state.
II. Reducer
- Reducer is a pure function.
- It takes the current value of the state and updates it according to dispatch action.
III. Store
- A store may be a state instrumentality that holds the app’s state.
- It manages all states and their updates effectively.
- Redux applications have just one store to manage the state.
Step 1: Install Packages
Install the specified packages 1st so as to use ReduxToolkit and React-redux in your React application.
npm install @reduxjs/toolkit react-redux
In traditional redux, you’ll write actions and reducer functions individually even as shown below:
Actions
const INCREMENT = “INCREMENT”;
const DECREMENT = “DECREMENT”;
const RESET = “RESET”;
export { INCREMENT, DECREMENT, RESET };
Reducer
const intialState = {
  count: 0,
};

const counterReducer = (state = intialState, action) => {
  switch (action.type) {
    case "INCREMENT": {
      return {
        count: state.count + 1,
      };
    }
    case "DECREMENT": {
      return {
        count: state.count - 1,
      };
    }
    case "RESET": {
      return {
        count: 0,
      };
    }
    default:
      return state;
  }
};
export default counterReducer;
counterSlice.js
import { createSlice } from "@reduxjs/toolkit";

const counterSlice = createSlice({
  name: "counter",
  initialState: {
    count: 0,
  },
  reducers: {
    incrementCount(state) {
      state.count = state.count + 1;
    },
    decrementCount(state) {
      state.count = state.count - 1;
    },
    resetCount(state) {
      state.count = 0;
    },
  },
});
export default counterSlice;
export const counterSliceAction = counterSlice.actions;
As you’ll see, the code is significantly higher and comprehensible with less lines. it’s not necessary to use switch case statements to manage actions with matching reducers. It also supported directly-assigning price to the state instead of returning the new price once change the state.
Step 3: Create and initialize the store
Next, produce a store.js go in the src directory of the project. the shop holds the state of our application.
To create a store, 1st you ought to import the configureStore from the redux-toolkit package.
Here the createStore in revived is replaced by configureStore. configureStore not solely creates the shop however conjointly accepts reducer functions as associate argument and mechanically installs the revived DevTools extension for debugging.
import counterSlice from "./slices/counterSlice";
import { configureStore } from "@reduxjs/toolkit";

const store = configureStore({
  reducer: {
    count: counterSlice.reducer,
  },
});
export default store;
Step 4: Provide the store to React application
Once done with creating the store, import the React-redux Provider and pass the store as a prop. This allows you to access the store from any component of your React application.
import React from "react";
import ReactDOM from "react-dom/client";
import { Provider } from "react-redux";
import App from "./App";
import store from "./store";

const root = ReactDOM.createRoot(document.getElementById("root"));
root.render(
  <react.strictmode>
    <provider store="{store}">
      <app>
    </app></provider>
  </react.strictmode>
);
Step 5: Dispatch actions from the react component
Now, create a Counter.js component in the src directory. And import the useSelector and useDispatch hook from the react-redux.
Also, you need to import actions from counterSlice.js to trigger an event.
import React from "react";
import { useDispatch, useSelector } from "react-redux";
import {userSliceAction}  from "./slices/counterSlice"
Now initialize the useDispatch and useSelector hook in a counter component. Here you may get the value of count using the useSelector hook and dispatch the event when the user clicks the increment, decrement, and reset button.
When a user hit one of these buttons, an event is fired in the counterSlice reducer based on the action’s count update value.
const Counter = () => {
  const count = useSelector((state) => state.count.count);
  const dispatch = useDispatch();

  return (
    <><div classname="container"><h3>Counter App Using Redux Toolkit</h3>
<h1>{count}</h1>
<div classname="btn-container"><button onclick="{()"> dispatch(counterSliceAction.incrementCount())}>
            Increment</button><button onclick="{()"> dispatch(counterSliceAction.decrementCount())}>
            Decrement</button><button onclick="{()"> dispatch(counterSliceAction.resetCount())}>
            Reset</button></div></div>

  );
};
export default Counter;
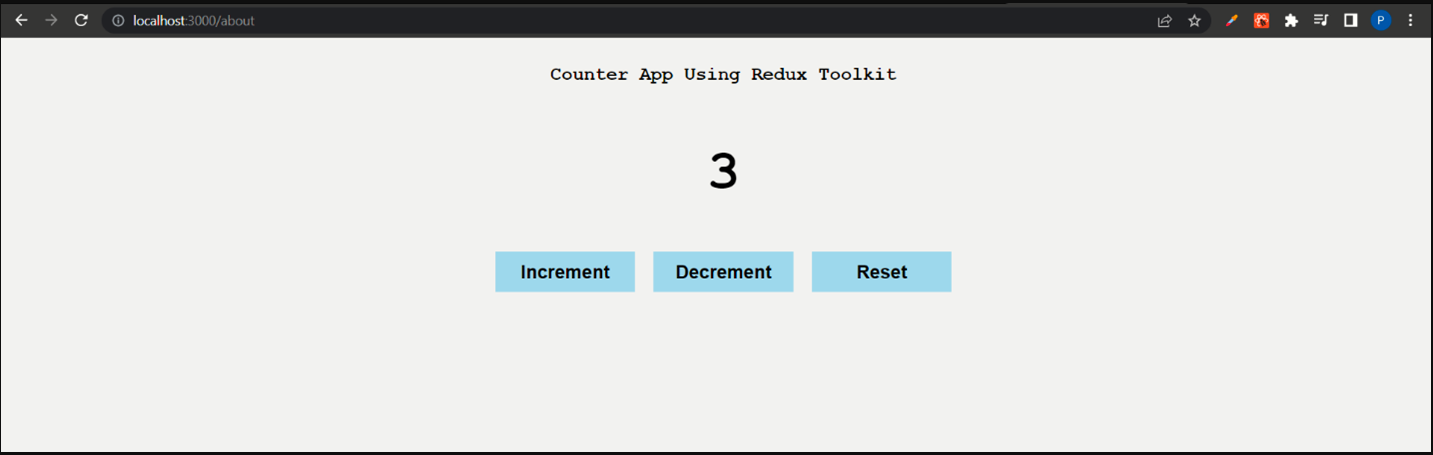
Here is the final output of your Redux toolkit-powered counter react application.